Build your own Greenscreen
Well, we decided to build our own greenscreen for our next movie. First of all we had to find a room - which we found in an old house. Then we started searching the web for information.
how to build I *** how to build II **
general I ** general II ** general III ** general IV**
>>> how to use *** <<<
The bluebox with the blue plastic tablecloth (how to build I) looked very good, but we decided to use more solid stuff. We chose WOOD and RIGIPS just because we like the materials and we think we will get a smoother surface.
At first the room was cleaned.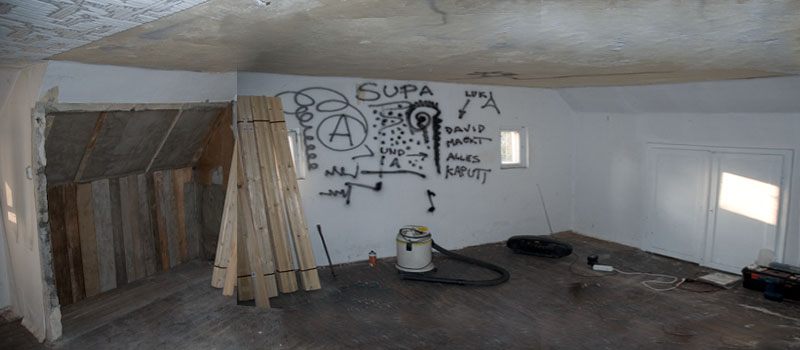
Then we fixed wooden strips with screws on the walls and the ceiling.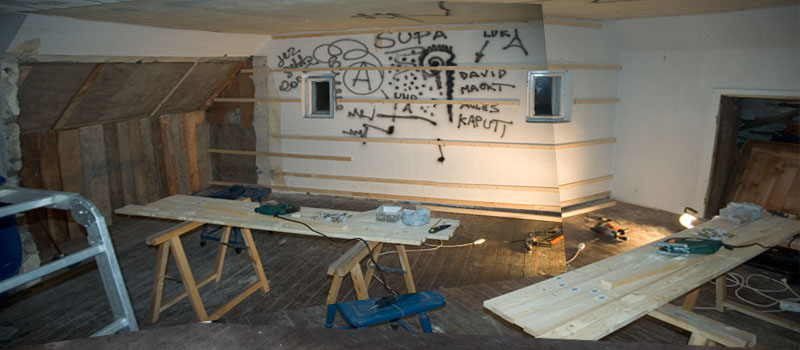
The windows were insulated against the cold and sound with Styropor and Polyurethan-spray.
We put a plastic foil under the ceiling to protect our greenscreen from water which might leak through the old roof.
The rigips plates were fixed to the ceiling with special screws for rigpis material. The gaps were closed with gypsum.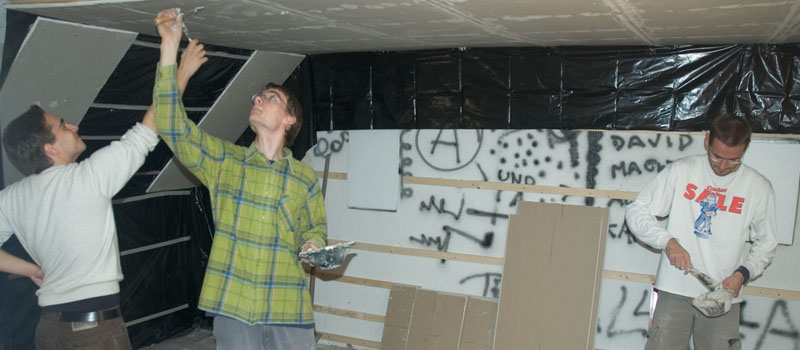
The wooden plates were fixed on the the wooden strips on the walls. The hole in the wall was insulated with polyurethan-spray.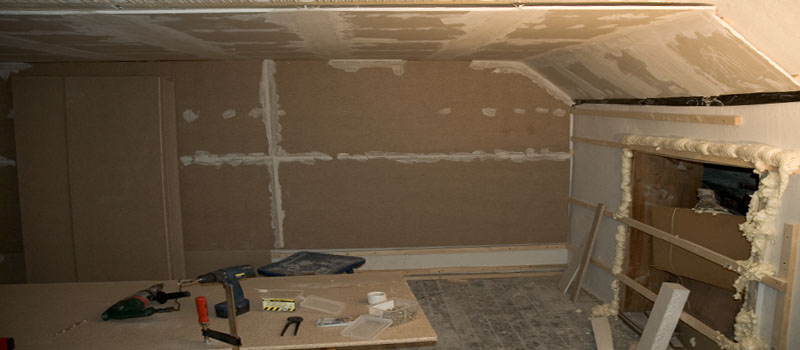
Afterwards all holes (caused by the screws), dents and the gaps between the wooden plates were closed with gypsum. After the gypsum was dry, we smoothened the surfaces with sandpaper.
By fixing some wooden plates to the floor we got a levelled and probably more stable surface for the bottom of our greenscreen.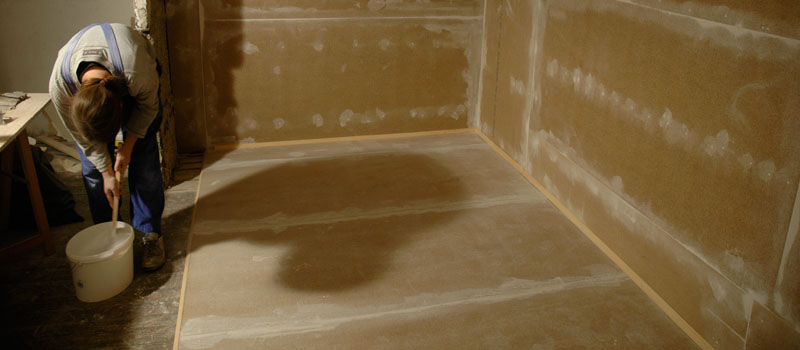
Finally we started painting. At first we painted the walls and the ceiling with two layers of white dispersion paint.
When the paint was dryed up, we checked if everything was covered without leaving spots. Drops were cautiously smoothened with sandpaper.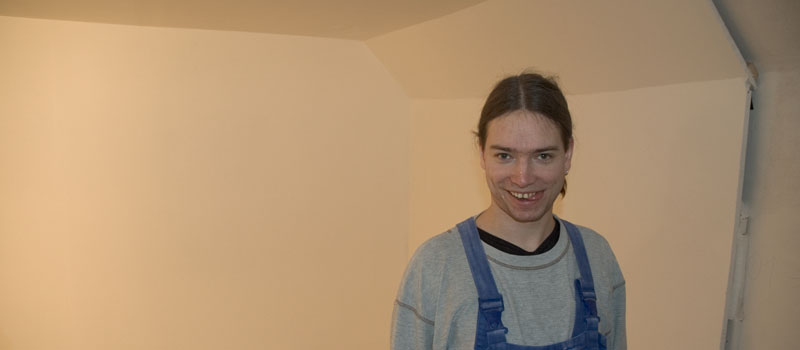
We mixed blue and yellow dye in our white paint to get a green color.

Unfortunately the wooden plates were deforming a bit, so we got this 'scars' between the plates. Next time we'll use rigips only!
Then we painted the ground of our 'green room'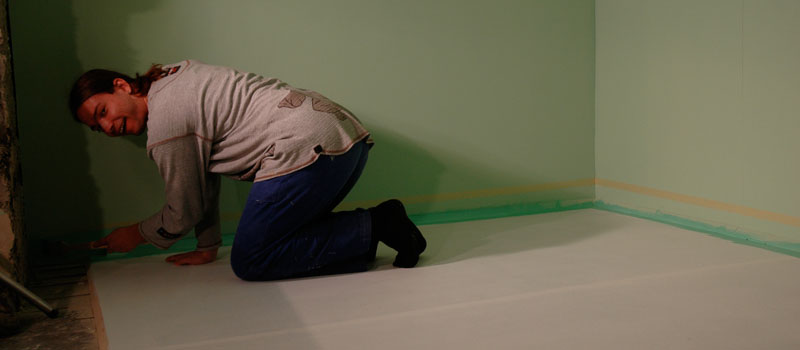

Unfortunately our greenscreen wasn't green at all...so we painted it again... This time we went to the shop and let them mix us a paint with an acceptable green color tone...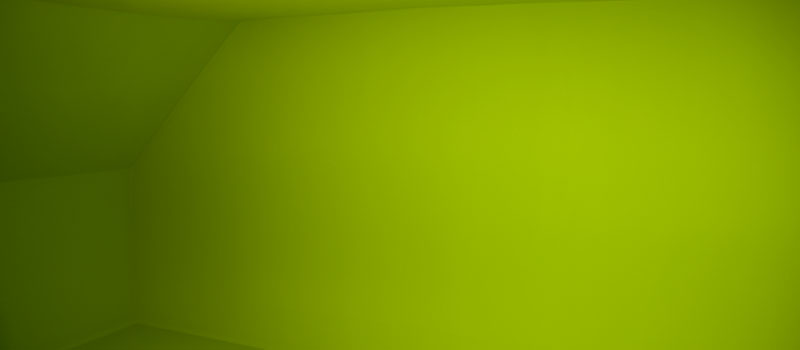 ...and it is indeed green now. There is however some yellow in it too - which is partly caused by the lights we are using, and partly because it is no perfekt RGB 0 255 0; I hope that we'll be able to fix that with the whitebalance during recording.
The paint we used is non-shiny latex-based so it doesn't reflect light too much and it is resistant against drops of water.
Finally we attached these egg cartons to the walls to reduce echo - which works quite nice.
This link which was already posted above (how to use) provides a lot of useful information and tips in the article and the comments. the people posting there are really helpful. unfortunately it is too late for us, but one guy posted this:
"Proper greenscreen pain is very expensive (about $50-$60 per gallon here in L.A.) If you can find something that has already been painted chroma green (or chroma blue) or can find a tiny strip of ACTUAL greenscreen cloth, take it down to any decent paint store and ask them to color match it. All large hardware stores can do this. Good luck & watch out for corners and seams!!
- Geoff"
That's what i would try next time! We are however lucky, that our greenscreen works. A friend paranoidandroids did a great music video with two scenes inside our greenscreen, have a look:
The biggest of our problem is that the room is very small, so it is very hard for us to light the background homogeneously. Still we got our own baby and it works.
I hope you liked our little building-report, there'll be a new one for our tests soon!

No comments:
Post a Comment